Workshop Archives
Fall 2023: Iris Hauser
Iris Hauser, a Saskatoon-based painter, shared various colour exercises with participants that help to enhance compositions. She explained the difference between the mixing colour wheel and the optical colour wheel, stressing the optical colour wheel is helpful when trying to create more contrast in one's work.
Fall 2023: Kevin Peeace
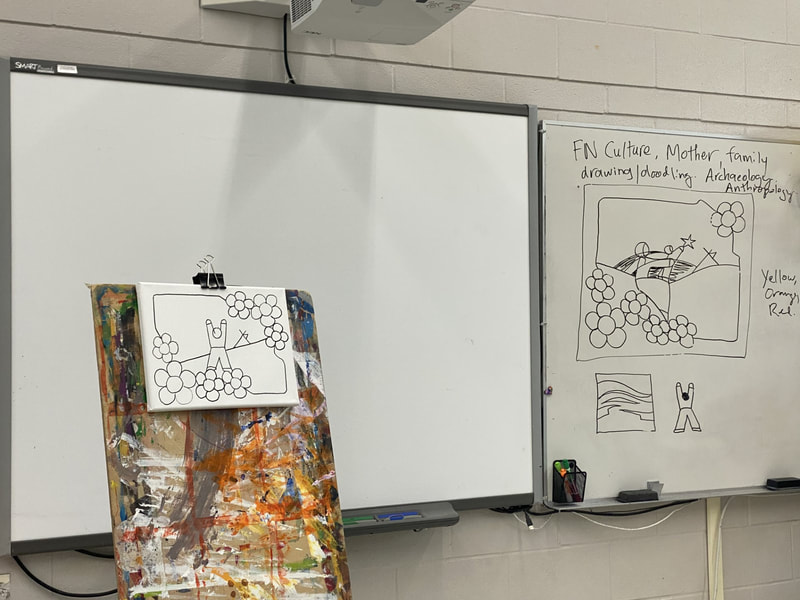
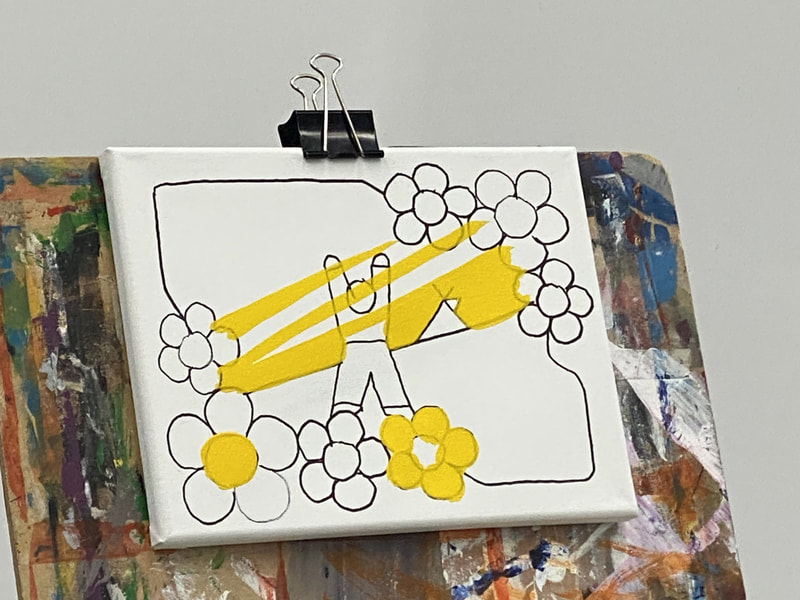
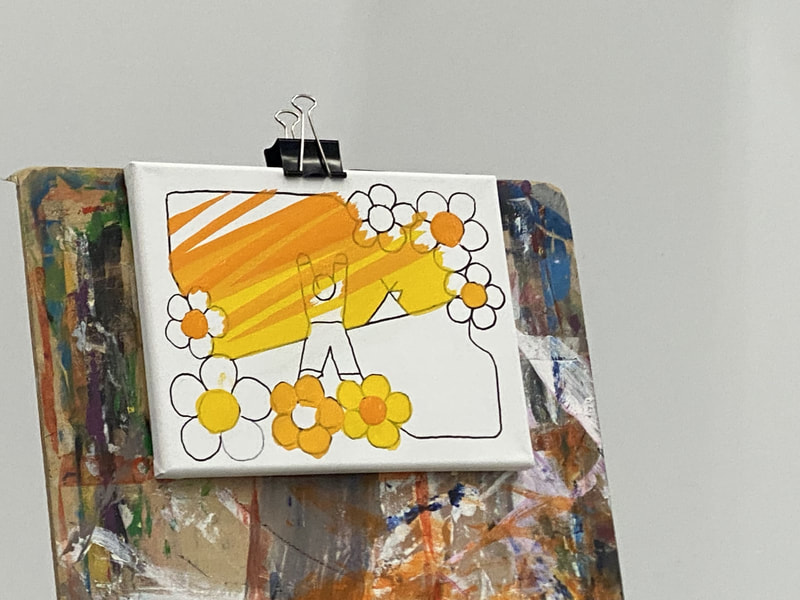
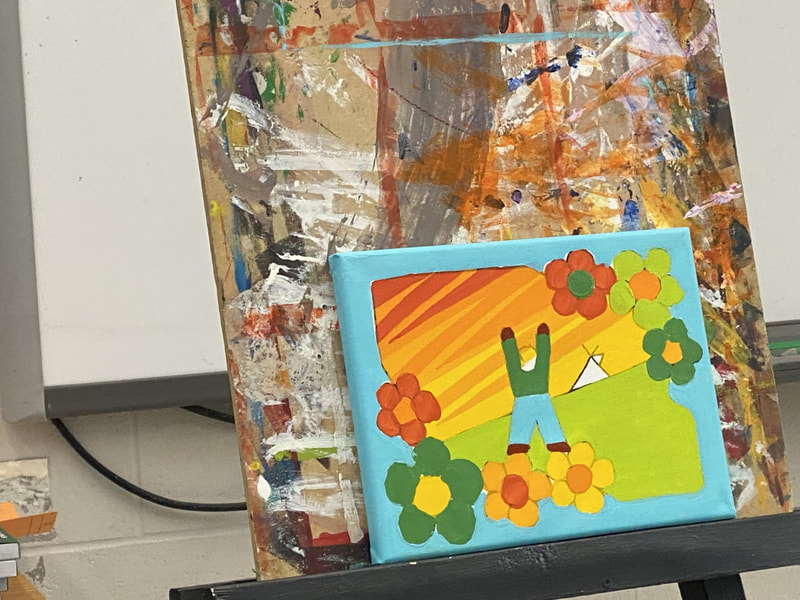
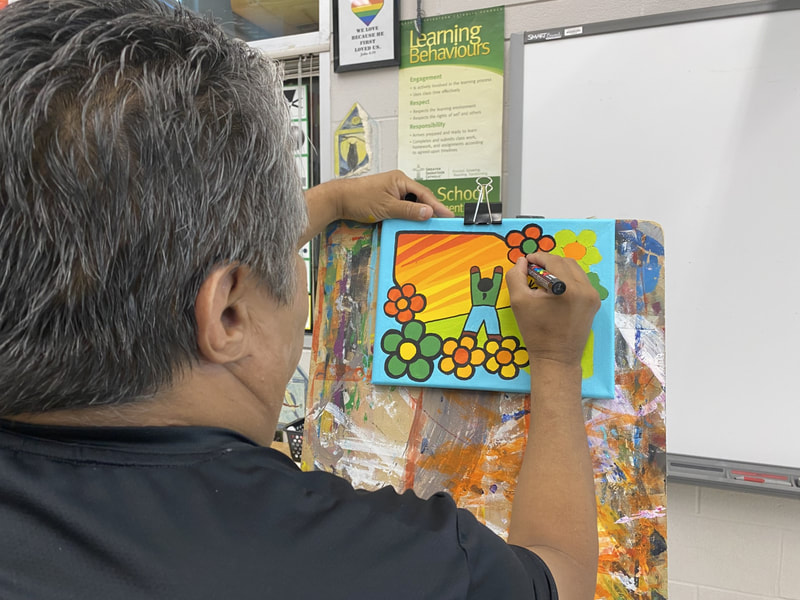
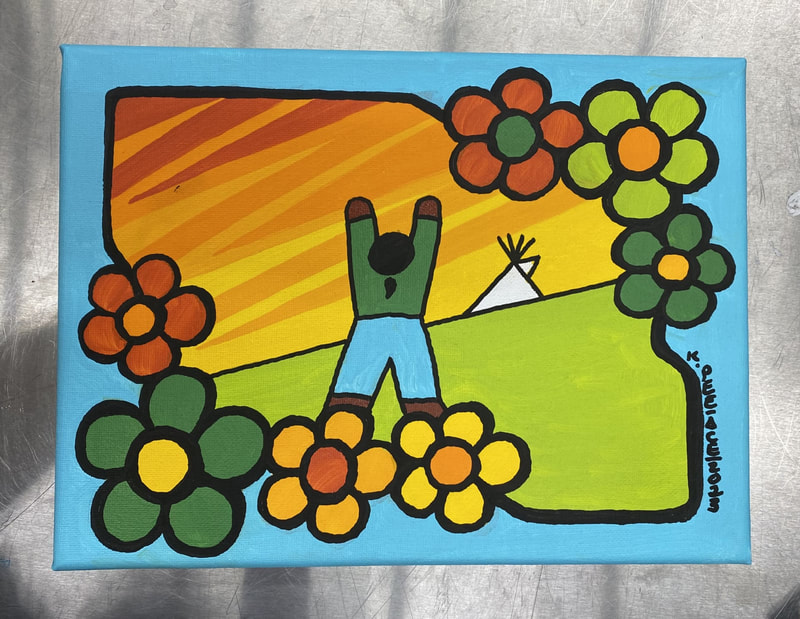
Kevin Peeace, a member of Yellowquill First Nation and Peter Chapman First nation, facilitated a paint workshop. He offered some background information about his art and shared the meaning of some of the symbols he uses often in his art, like the star. Kevin demonstrated his painting process, completing an 8x10 painting over 2 hours, and participants emulated his style, creating colourful paintings of their own.
Fall 2022: Jacob Semko
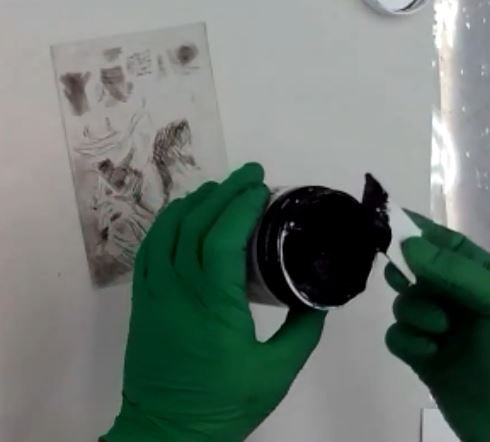
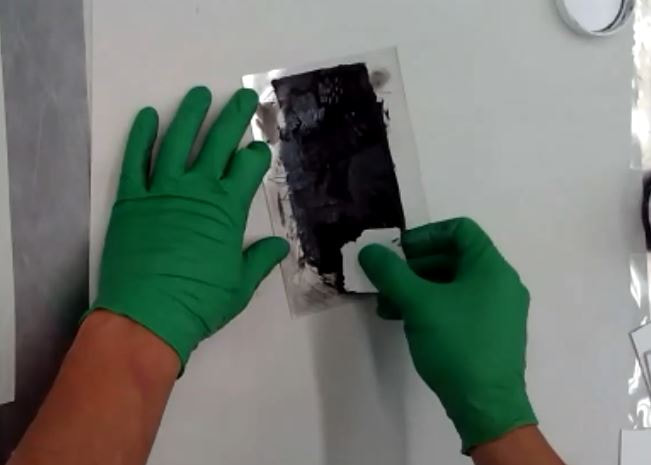
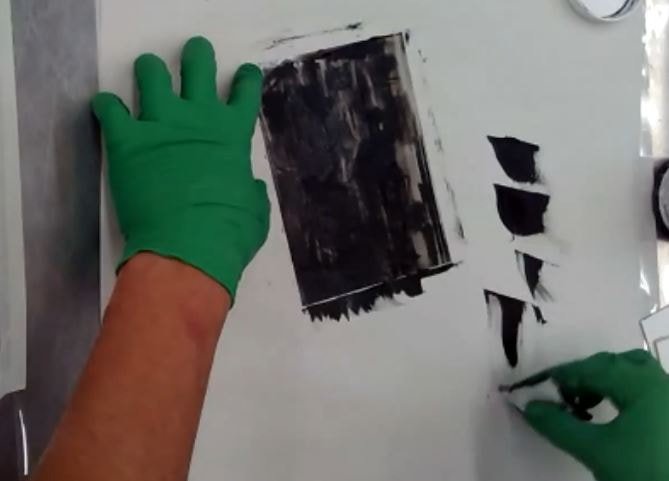
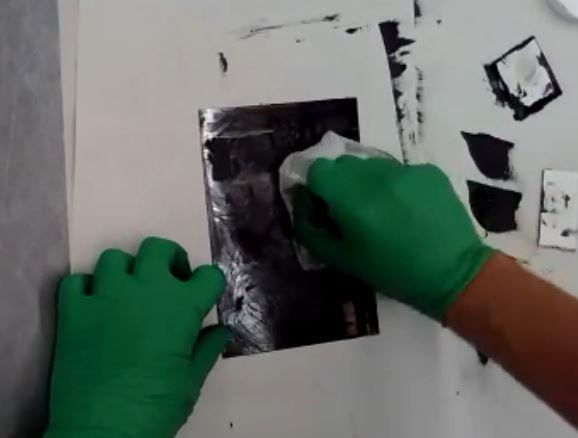
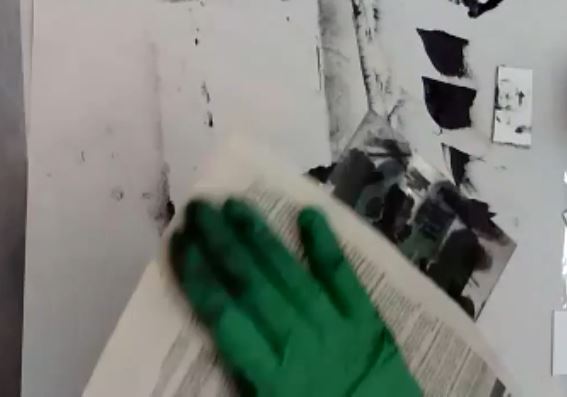
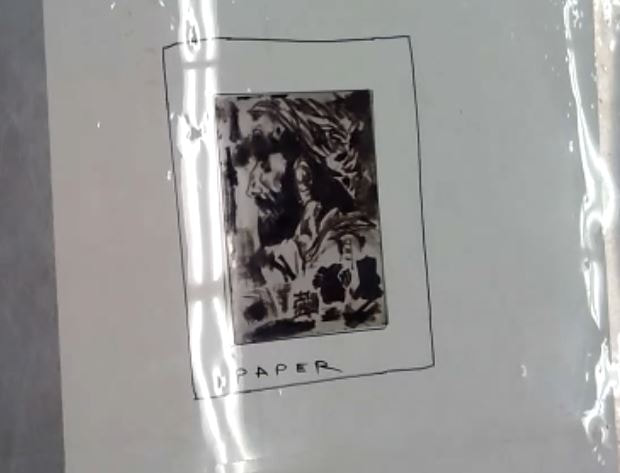
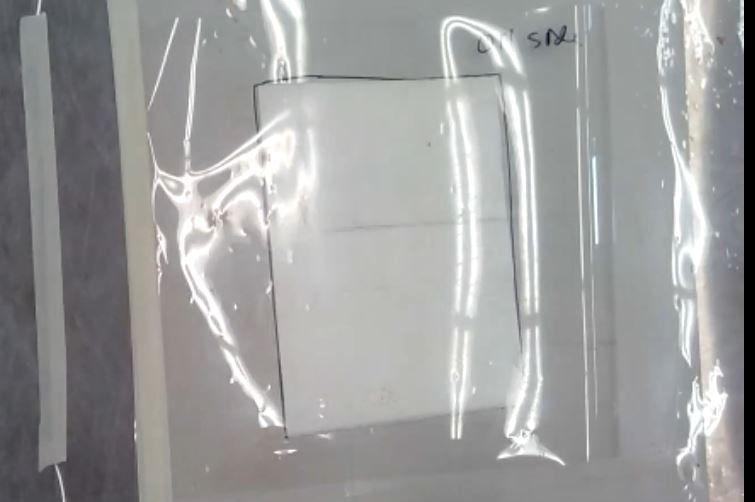
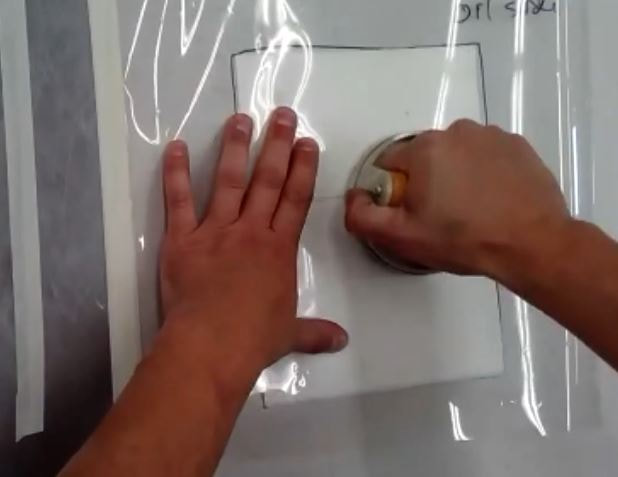
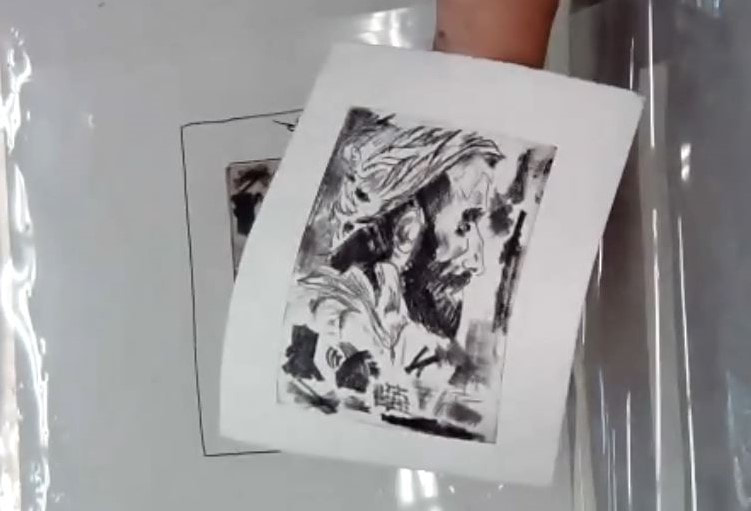
Jacob Semko, printmaker and sessional lecturer in art & art history at the University of Saskatchewan, shared with participants the dry etching printmaking process. Steps are featured in order below, and if you click on the picture the caption explains the process.
Fall 2022: Allyson Glenn
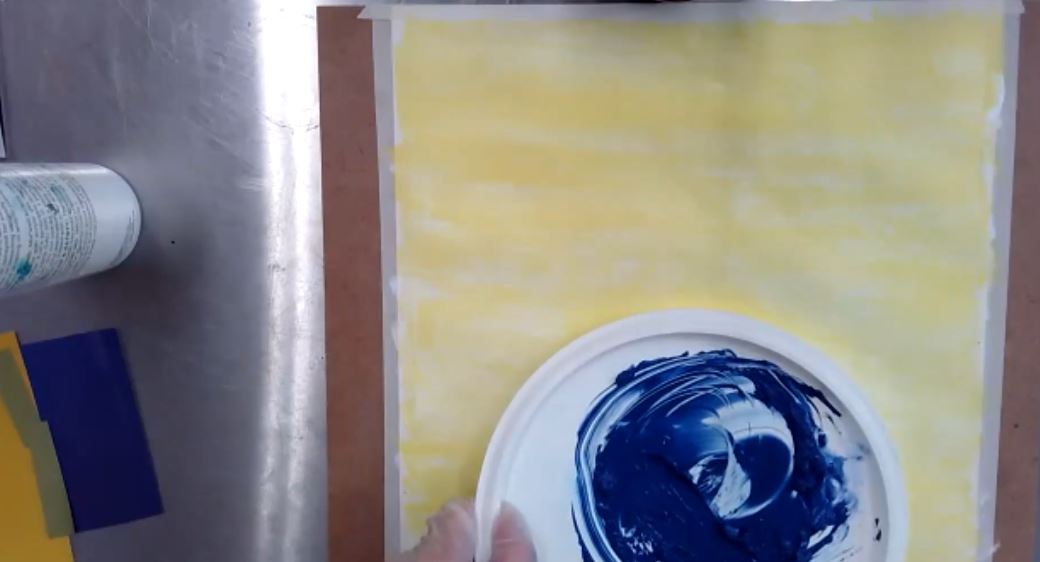
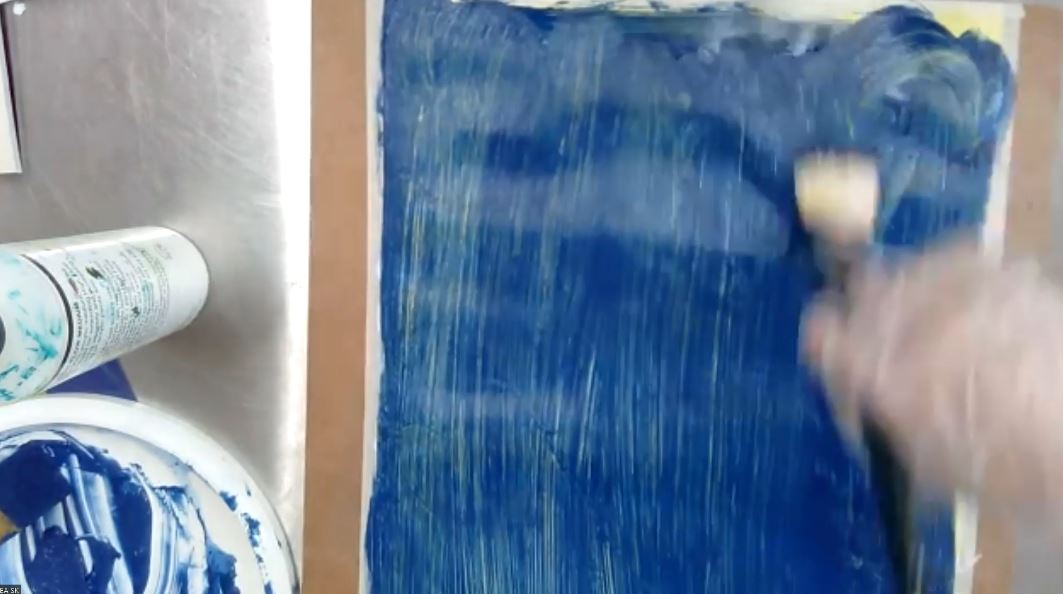
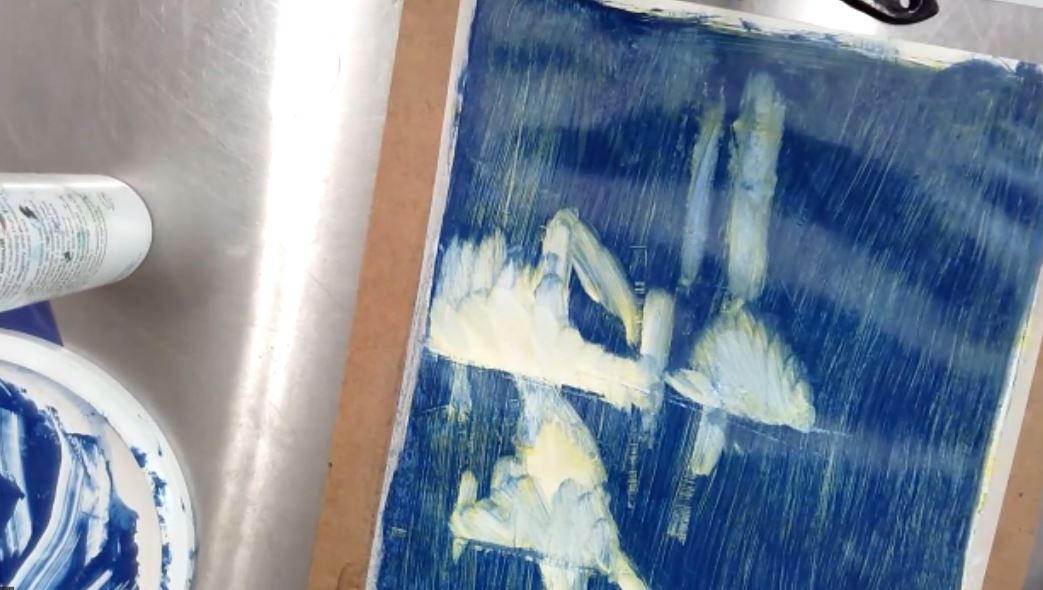
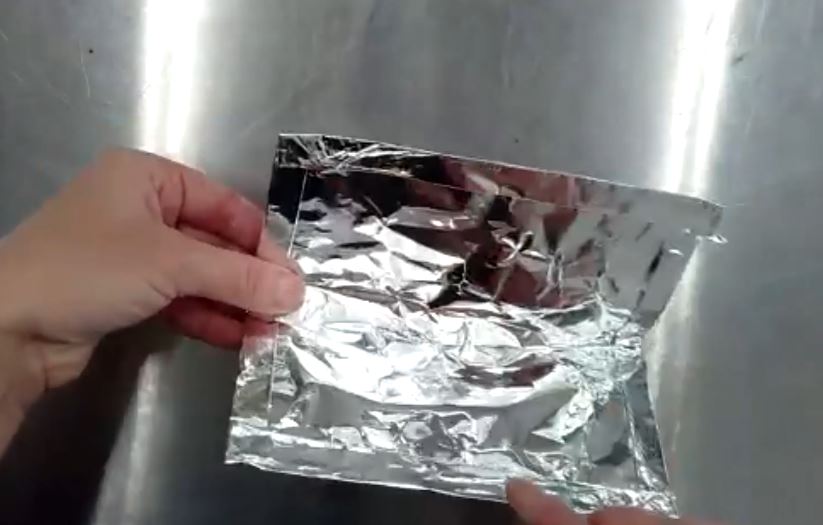
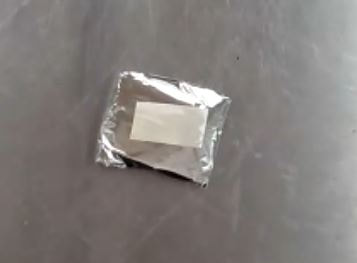
Allyson Glenn, a professor of painting and drawing from the University of Saskatchewan, shared various paint application and subtraction techniques. She had us gesso a piece of paper (let it dry), add a light colour (let it dry) and then mix a glaze in with a darker colour and apply it quickly to the paper and experiment with removing parts of the glaze using paper towel and paint brushes. She also showed us how to save acrylic paint for years by simply placing acrylic paint in a folded tinfoil packet.
Fall 2021: Susan Shantz's Workshop Paper Sculptures, great for any age group
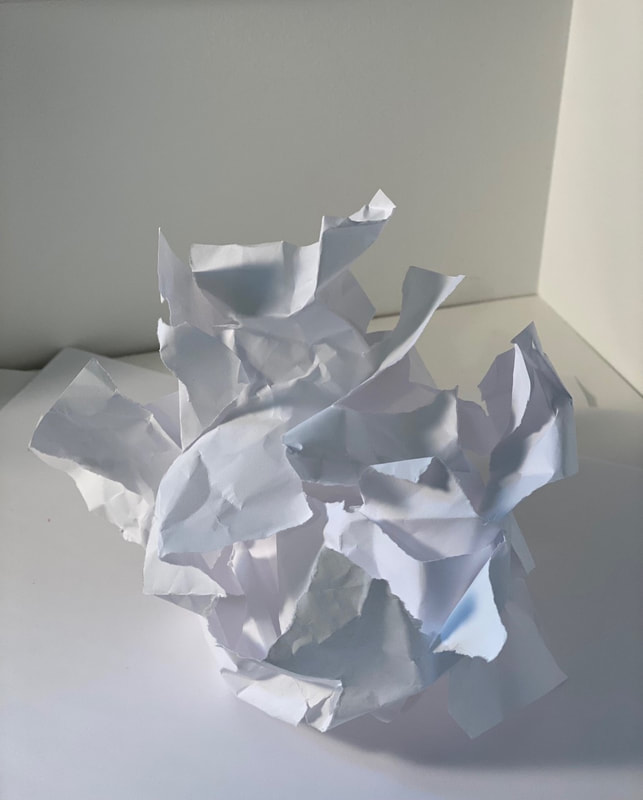
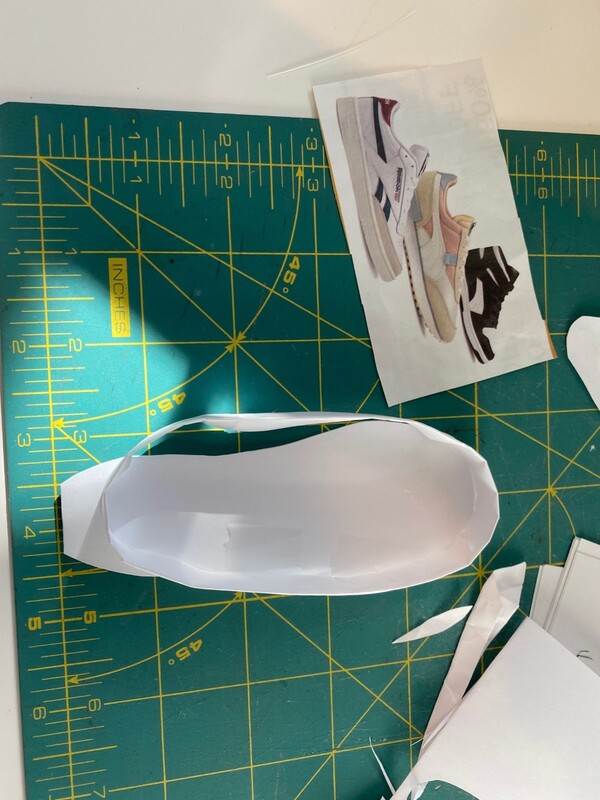
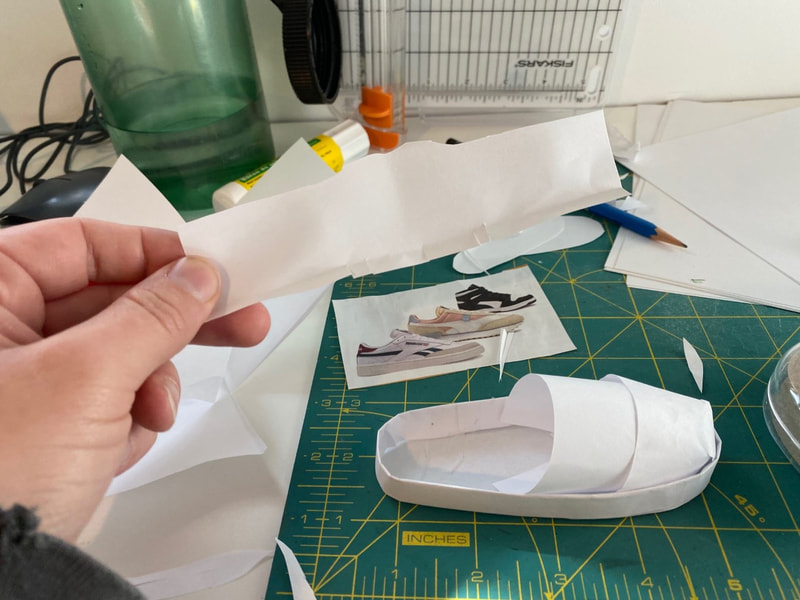
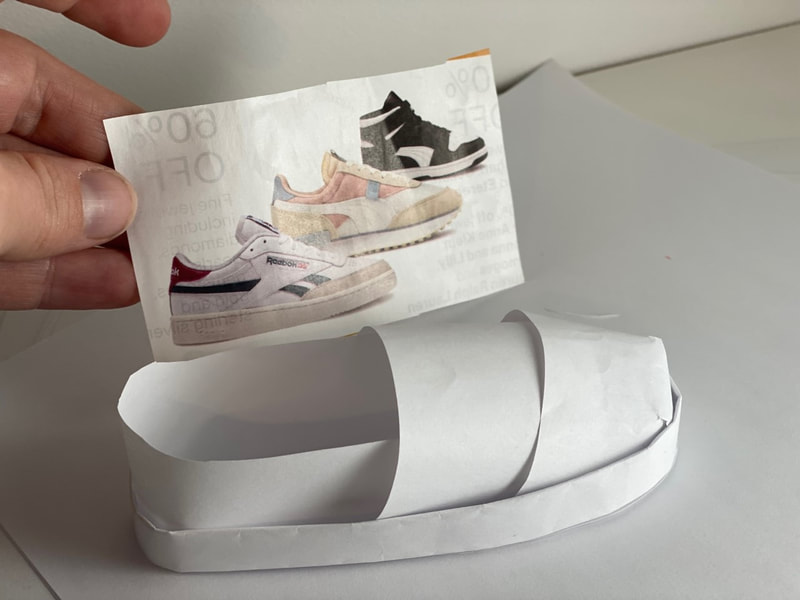
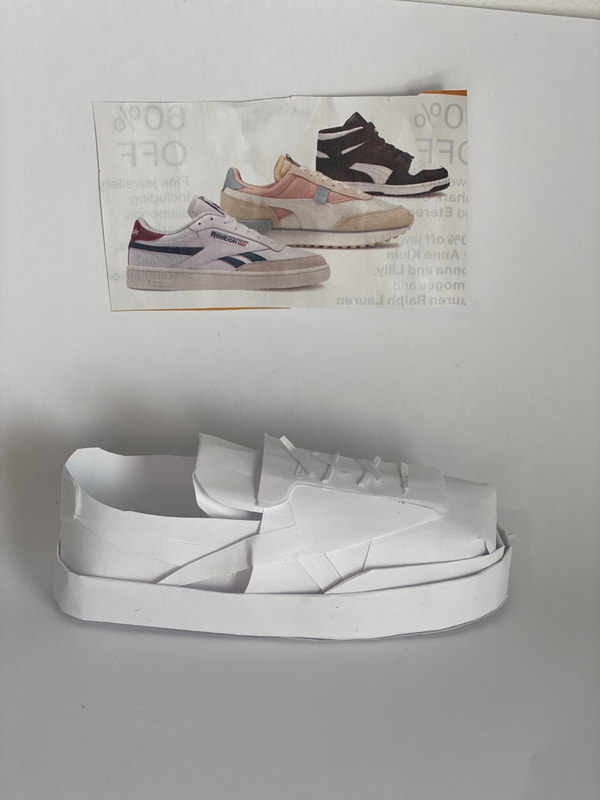
Susan Shantz, a sculpture professor from the University of Saskatchewan, reviewed the elements and principles of sculpture with participants before leading them through a hands on sculpture exercise using just crumpled paper. Shantz went on to build on this exercise, exploring sculpture guided by process and ultimately having participants build a replica of a 2D visual in a flyer in 3D using paper. See her lesson plan in the file below and view the video link below to see excerpts from her workshop. (The videos are password protected and accessible to members only via password)
| Susan Shantz's Lesson Plan for Cardboard Sculptures | |
| File Size: | 1381 kb |
| File Type: | |
Fall 2021: Aurora Wolfe's Workshop on Indigenous Beading
Aurora Wolfe presented information about female Indigenous artists to SAEA members. She then led participants through a beading activity. When beading, it's important not to copy Indigenous beading patterns, as this is appropriation; rather, it's important to design original patterns when creating beading artworks. View the video link below to see excerpts from her workshop. (The videos are password protected and accessible to members only via password)
Fall 2020: Leah Dorion's Workshop Metis Plate Designs, geared towards elementary and middle school students
The videos are password protected and accessible to members only via password.
Fall 2020: Alison Norlen's Sketching Prompts, geared towards high school students
The video is password protected and accessible to members only via password.
- Watch this video to see our fall conference with Alison Norlen as she leads teachers in exploring various sketching ideas within a conceptual framework.
Fall 2019: Nikki Climenhaga's Woodland Art Painting
Nikki Climenhaga shared a painting activity based on the Professional Native Indian Artists Incorporated (PNIAI), also known as the Indigenous Group of Seven. As both a Cree and Métis artist, Nikki first studied the Woodland art style in high school when she got to research and emulate an art style from her cultural heritage. Nikki noted that instructing students to paint in the woodland art style can sometimes be controversial because it can be seen as appropriation; as a result, it is important when teaching students this style that teachers clarify the difference between "Appreciation" and "Appropriation." She considers it "appreciation" to study the Woodland method as a way of learning about Indigenous culture and art history, but stresses students should be taught not sell these types of works for profit. Nikki referenced Native Art in Canada as a good source of information about this group of artists. She also mentioned that the MacKenzie Art Gallery has an excellent teacher guide for the PNIAI group.
The PNIAI group emerged as a reaction to Indigenous art being displayed in museums instead of art galleries. The members wanted to be recognized as artists and created a strong, recognizable, art style.
Nikki's instructions for students:
1. Prepare the canvas by sponging on a flat background colour. Traditionally First Nations would have used black and ochre colours and drawn on teepees, but Norval Morrisseau, one of the founders of the Woodland art style, was known for using colourful paint right out of the paint tube.
2. Choose a Canadian animal and sketch the outline of that animal in pencil crayon onto the canvas.
3. Students should go in with black paint and start creating solidified outlines. Lines flow organically, change in width, and have rounded edges. There are several different kinds of lines used in the Woodland style:
- Connection lines illustrate relationships between two or more things
- Power lines are connected to the spirit of the animal and can go in and out of figures
- Movement lines are short lines that tend to cluster near organs, but can also illustrate physical movement - like a fish moving through water
- Divided lines illustrate dualities; for example, a divided circle might indicate day and night
- X-Ray lines focus on muscle and nervous systems
2019 Fall Workshop - Roberta Ross's Creating Grounds for Sketchbooks
Roberta Ross shared that at the beginning of the term she has her high school students prep their sketchbooks (sometimes a blank book, or they can use an old novel as a sketchbook) with visual grounds. To Roberta, sketchbooks should be all about surface manipulation, form, and mark-making; she encourages students to print, draw, collage, and write in their sketchbooks. Different ideas that Roberta shared for visual grounds include: packing tape transfers, gluing tissue paper/sewing patterns/newspaper into sketchbooks, and sewing into their sketchbooks. She teaches students the principles of design (balance, emphasis, movement, pattern, repetition, proportion, rhythm, variety, and unity) to students so that they better understand how to compose their grounds and encourages students to create compositions that flow off the page. By using visual grounds as a base that students work overtop of, Roberta illustrated how compositions seem "finished" sooner than if there was a blank background.
2019 Fall Workshop - Sarah Gerrard's STEAM Paper Circuit Drawings
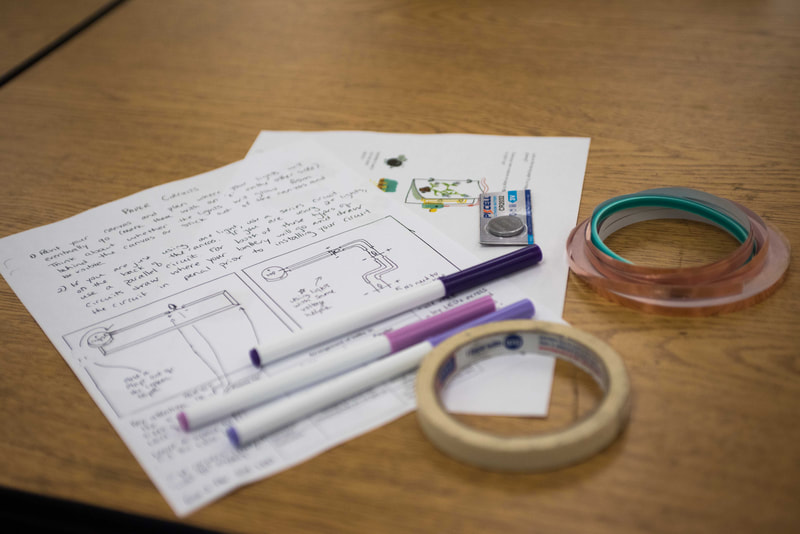
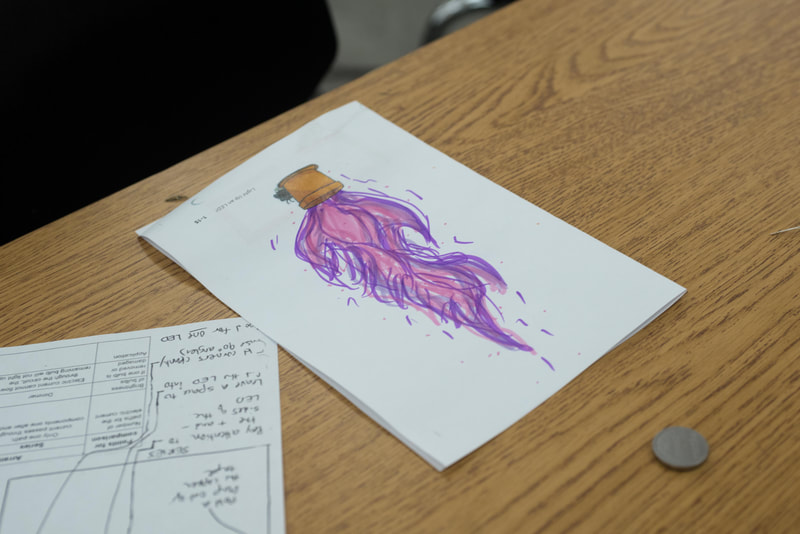
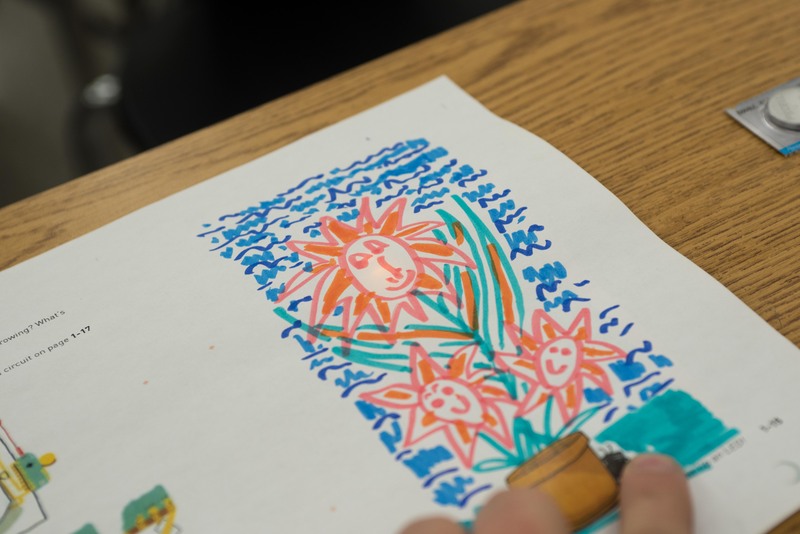
Sarah guided SAEA members to create circuit drawings, which is one way to create interdisciplinary works of art. These circuit drawings incorporate LEDs, copper tape (the connector) and a CR2032 battery to power the light when the connection is created. You can see examples of student global warming paintings that light up here. For those who are new to paper circuits, Chibitronics is an excellent site to download templates from.
Here are the steps to recreate what you see here:
1. Draw an image on a piece of paper
2. Place an LED behind the paper where it will light up
3. Decide where to attach the battery
4. Create a series circuit (copper tape works excellent for one LED light. More than one LED light requires a wire conductor and a parallel circuit. Pay special attention to the positive and negative side of the LED.
5. Press on the artwork to create a connection and watch the light illuminate the art.
Fall 2018 Workshop: Kaleah's Wire Sculptures
Kaleah introduced SAEA members to the medium of wire sculpture. She recycles old telephone wire that she gets from electricians, but also recommends 20 gauge wire from Dollarama for middle years/high school students (pliers help in the bending process) and pipe cleaners for younger ones. An important aspect in choosing wire is that it doesn't break after a few bends. Kaleah profiles Saskatchewan based artist, Twyla Exner, when introducing wire projects, and also reads the book Sandy's Circus to engage students.
Kaleah said that she would start students off with practicing various wire bending shapes. She then introduces the term "contour" and has them trace a subject's contour from a picture, such as the dragonfly, and has them follow the picture with the wire. If students want to create more of a 3D sculpture they can circle around objects such as pens or markers, and create more of a sculptural body.
One option SAEA members discussed is the opportunity to use wire sculpture to create stop-motion animation using free apps.
| Wire Sculpture Resource List | |
| File Size: | 507 kb |
| File Type: | |
Fall 2018 Workshop: Roberta and Merv's Clay People
Merv started off the presentation by letting everyone in on a little secret: if you stack meter sticks you can create slabs out of a block of clay VERY easily. Tip: most Saskatoon and area teachers get clay from TREE pottery. Merv then went on to demo how placing a slab of clay over a crumpled paper towel can be the basis for creating a rounded slab face, and had fun showing people how he creates teeth and hair. Both Merv and Roberta stressed that thirsty clay needs water from the inside out (adding water to its surface is not effective, rather it needs to be mixed in when the teacher kneads the clay).
Roberta creates her sculptural people in grade 9 art class, using the theme of ageism. She discusses with students various aspects of the aging process and then has them do the following to create their clay people:
Roberta creates her sculptural people in grade 9 art class, using the theme of ageism. She discusses with students various aspects of the aging process and then has them do the following to create their clay people:
- Create two pinch pots and score the two sides.
- Add a bit of water and join the pieces together, smoothing over where the clay joins so no one can tell.
- Pat the bottom to create the jaw. Also, pat both sides of the head so it is more oval.
- Press in the eyes.
- Roll two peas and place those into the eye sockets to create eyes.
- Create "bananas" and add those around each eye to create eyelids and eyebrows.
- Create a triangle (she talks about the various shapes - obtuse, etc.) and attach it to create a nose.
- Roll two "peas" and add those on each side of the triangle to create nostrils.
- Roll a circle and create a chin. She likes to tell kids that the chin is trying to meet the nose, so shape it in that direction.
- Lips can be created by drawing a slit for the mouth or by adding a minimal amount of "lip"
- To create hair use a garlic press, press it through a sieve or piece of window screen, or create larger chunks for hair and draw into them.
- Create a hole in the bottom of the sculpture so it doesn't explode in the kiln (hot air expands and needs somewhere to go)
- Role a slab and join it together to create the neck. Make sure the sculpture balances.
- Once fired, Roberta makes the painting process go more smoothly by pre-mixing 5 different skin colours and giving students just 10 minutes to sponge it on. The only painting they do with a brush is the eyes.
2018 Fall Workshop - Alison Montgomery's Watercolour Workshop
Alison, a retired high school art teacher and professional artist, started off the afternoon by explaining that there are three key factors in watecolour painting: the paper, the brush, and the paint. The brand name of the paper matters more than the weight (she recommends 140 lb and up) - Strathmore is excellent. The brush needs to have a good tip so that it can have details, but also be broad enough that it can spread paint easily on the page. The paint needs to have intense colours. We used this Yarka set.
Alison always recommends setting up watercolour paper at an angle, and she demonstrated how to do this with an encyclopedia. This helps the water always flow in one directly and helps to create a bead at the bottom of each brush stroke. Key things to remember with watercolour: no white is used - the paper is the white. Also, she stressed that she only ever let students use yellow, red (crimson), and blue (pthalo) to mix the rest of their colours for painting. That was our first activity, mixing tertiary and secondary colours, and she always starts with this activity with students.
The second activity was practicing four key techniques: flat wash, wet-into-wet, a fast stroke of colour into a wet base, and dry brush.
The third activity she would have students do in a watercolour unit would be to draw the same still life (a hand holding an apple, for example) using these four techniques.
The fourth activity would be painting a landscape, using sure to leave white "breathing" space in the image as this helps to create shapes (like clouds) and also allows space for the eye to move around the page and take it all in. She would provide students with images to start from so they didn't pick overly complicated pieces.
The fifth and sixth activities were painting still lifes. The first time she would not allow students to pre-draw the shapes, but would instruct them to represent the values. This often results in a more impressionistic image. The second day she would allow them to pre-draw the objects (she'd pick 3 for them to focus on) and then paint these.
